<>
How to Remove Support Structure from 3D Prints
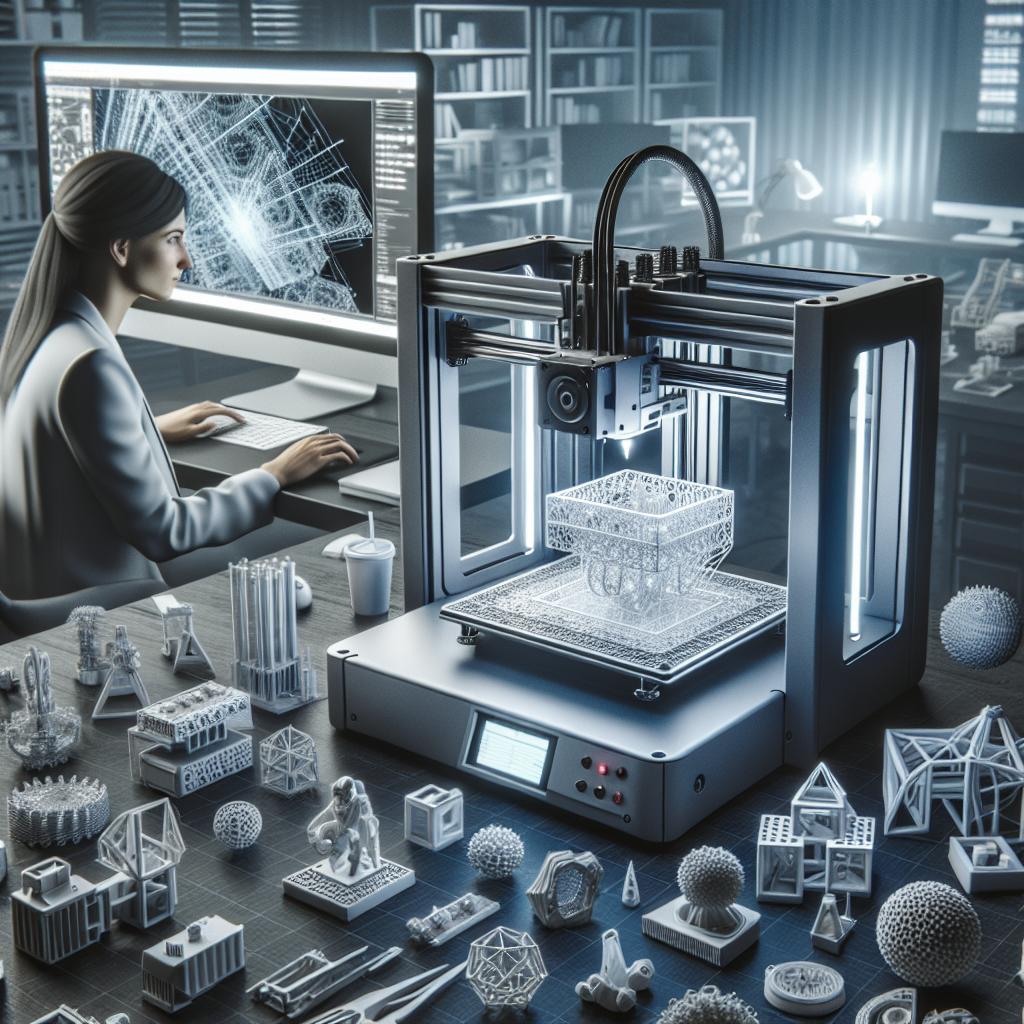
3D printing has revolutionized manufacturing and crafting, making it easier for enthusiasts and professionals to bring their designs to life. However, one of the common challenges everyone faces is dealing with support structures. These intermediary elements are crucial during the printing process but need careful removal to ensure the final product’s quality. In this blog post, we’ll explore when and why you need support structures, general tips for removing these supports, detailed step-by-step instructions, and post-removal surface finishing techniques. By the end, you’ll have a comprehensive understanding of how to handle supports and achieve the best possible results with your 3D printed parts.
When do you need to design and remove support structure?
Support structures are necessary for 3D printing when your design includes overhangs, bridges, or complex geometries that would collapse without additional support. The nature of additive manufacturing means that every layer of material needs a base to settle on, and unsupported sections would lead to failure. For instance, a 3D model of a human figure with outstretched arms would require supports beneath the arms to ensure they print correctly.
The need to design supports often arises during the planning and design stages of your project. Software like Cura, Simplify3D, or PrusaSlicer can automatically generate areas where support is necessary. Understanding when and where to use supports will help in creating a more robust final product and save you a considerable amount of time and effort during the removal process.
General tips for removing 3D-printed support structure
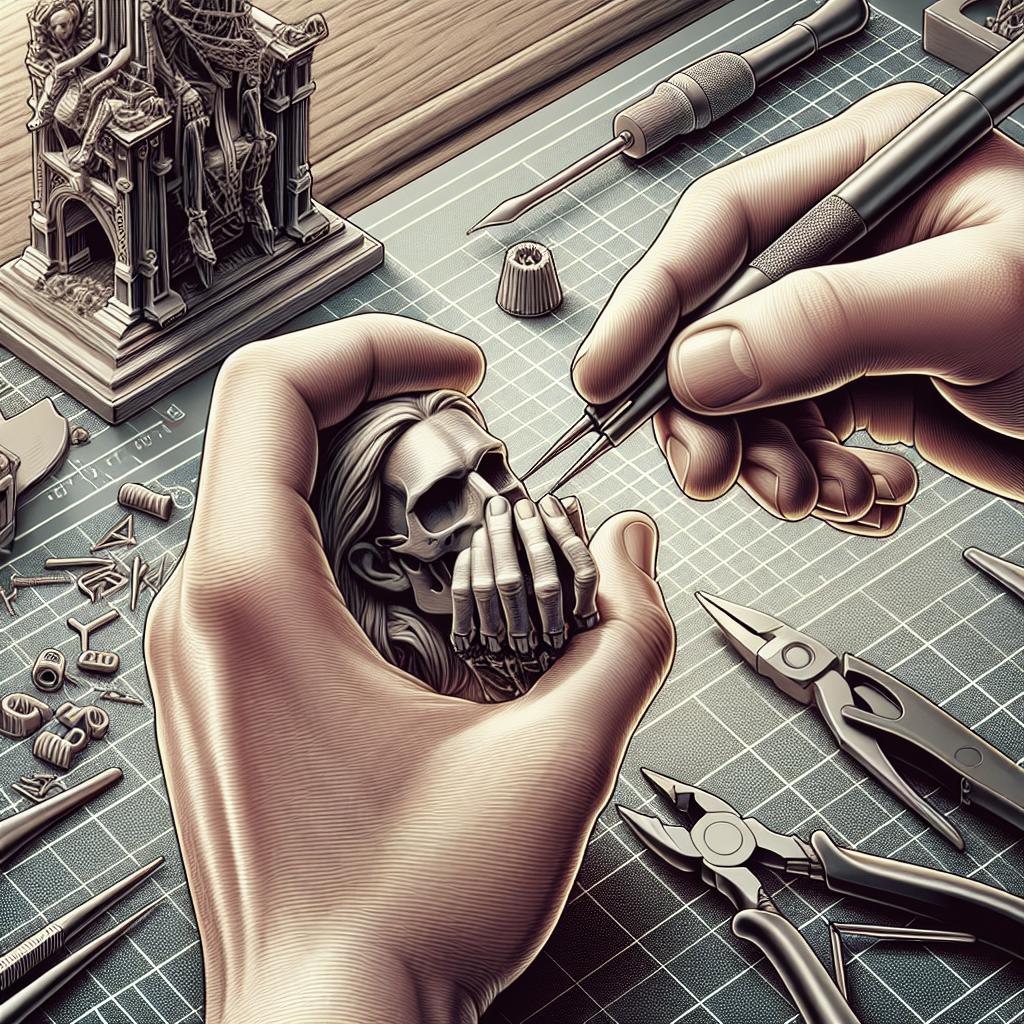
Before you dive into the process of removing supports, it’s essential to know the right tools to have on hand. Tools such as pliers, a utility knife, tweezers, and sandpaper are often indispensable. Wearing gloves and safety glasses can keep you safe from accidental cuts or debris.
One fundamental tip is to be patient. Applying too much force quickly can result in snapping or damaging your actual print. Another key point is to work in a well-illuminated area to see all the junctions and delicate parts of your print clearly. Lastly, take your time to plan the removal process; identifying which sections to remove first can help in gradually easing out the entire support without damaging your design.
How to remove support structure from 3D prints
The first step in removing support structures is to assess the point of contact where the supports meet the actual print. Start by using pliers to gently wiggle and break off the larger, easily accessible sections of the support. For intricate areas, using a utility knife or tweezers can give you more precision and control. Remember to slice away from yourself to avoid injury.
Gradually move to smaller tools for finer details. A good strategy is to remove supports in layers, working from the outside in. This will help in maintaining the integrity of the print while still allowing for detailed, intricate removals. In some cases, soaking the part in hot water can soften the support material, making it easier to remove without damaging the primary structure.
After the cut: sanding off the surface of the 3D print
Once you’ve successfully removed the supports, the next step is surface finishing, primarily through sanding. Start with a coarse grit sandpaper (around 100-200 grit) to tackle the rough spots and noticeable blemishes. Use gentle, circular motions to avoid gouging or uneven surfaces.
After initial sanding, move on to finer grit sandpapers (400-600 grit) to smooth out the surface further. Sanding underwater can help reduce friction and better control the dust and particles generated. For a polished finish, use even finer grits or a polishing compound appropriate for the material you’re working with. This ensures your 3D print looks polished and professional.
Final thoughts
Removing supports from 3D printed parts is a meticulous but rewarding process. With proper planning, the right tools, and a bit of patience, you can ensure that your final product retains its intended design and functionality. Below is a summary of the key points covered in this post:
| Step | Description |
|---|---|
| Design and Need | Use supports for overhangs, bridges, and complex geometries; plan supports during the design phase. |
| General Tips | Use proper tools like pliers and knives; work in a well-lit area; be patient and careful. |
| Removing Supports | Start with larger sections, move to smaller tools for precision, consider soaking in hot water. |
| Sanding | Begin with coarse grit, move to finer grits, use circular motions, and sand underwater if possible. |