<>
Introduction
3D printing with metal is revolutionizing the manufacturing industry, making it possible for individuals and companies to create complex metal objects efficiently and affordably. This blog post will guide you through the three main steps involved in 3D printing with metal: printing, washing, and sintering. Each step is crucial to ensure the structural integrity and quality of your final product. By understanding and mastering these processes, you can produce durable and intricately designed metal pieces suitable for various applications, from prototyping to finished products. Dive in to explore the detailed process of metal 3D printing and unlock its potential for your creative and industrial projects.
Step 1: Print
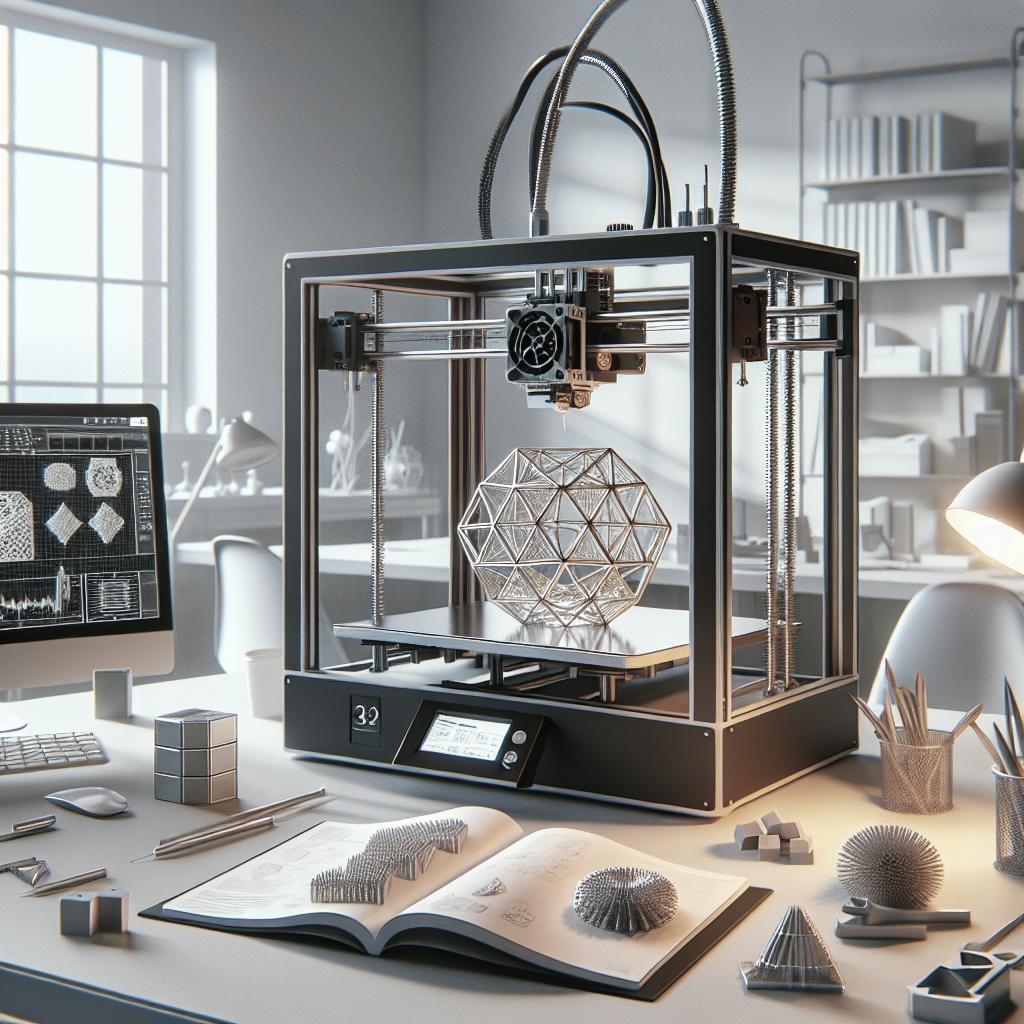
The initial step in 3D printing with metal involves creating a digital model of the object you wish to print. This digital model, typically designed using Computer-Aided Design (CAD) software, is then sliced into thin layers that the 3D printer will follow. The printing process involves a technique known as Direct Metal Laser Sintering (DMLS) or Selective Laser Melting (SLM), wherein a high-powered laser fuses metal powder layer by layer according to the digital blueprint. This process allows for the creation of highly complex and detailed metal parts that would be impossible to produce using traditional manufacturing methods. It’s essential to choose the right type of metal powder for your project. Commonly used metals include stainless steel, aluminum, titanium, and cobalt-chrome. Each metal has specific properties that make it suitable for different applications such as high strength, corrosion resistance, or lightweight. During the printing process, maintaining the correct environmental conditions, such as temperature and oxygen levels, is critical to prevent defects and ensure the quality of the printed parts.
Step 2: Wash
After the 3D printing phase, the next critical step is washing. This involves removing any excess metal powder and cleaning the printed object to prepare it for further processing. The washing process often includes the use of specialized solvents and ultrasonic cleaning to ensure that all residual powder is removed from even the most intricate structures. It’s crucial to handle the printed piece carefully during this stage to avoid damage or contamination. Proper washing not only improves the appearance of the printed object but also enhances its mechanical properties by eliminating any loose or unconsolidated particles. This step ensures that the sintering process, which follows, can occur without any impediments, leading to a more robust and high-quality final product. In some cases, additional support structures used during printing are also removed during the wash process to prepare the object for sintering.
Step 3: Sinter
Sintering is the final step where the printed and washed metal object undergoes a heat treatment process to strengthen its structure. This process involves heating the object to just below its melting point in a controlled environment. The heat causes the metal particles to bond at the molecular level, resulting in a denser and structurally sound object. Sintering can significantly enhance the mechanical properties of the printed part, making it suitable for functional and end-use applications. The sintering process must be carefully monitored to ensure proper temperature control and avoid any deformation or warping of the object. The duration of sintering varies depending on the type of metal used and the complexity of the object. Post-sintering, the object may require additional finishing processes such as machining, polishing, or coating to achieve the desired surface finish and dimensions.
Never miss an article
Stay updated with the latest trends in 3D printing technology by subscribing to our newsletter. Receive tips, tutorials, and industry insights directly to your inbox to keep your skills sharp and stay ahead of the curve. Join our community of tech enthusiasts and innovators to explore the endless possibilities of 3D printing and beyond.
Lessons Learned
| Step | Description |
|---|---|
| Creating a digital model, choosing the right metal powder, and maintaining environmental conditions for high-quality printing. | |
| Wash | Removing excess metal powder and cleaning the printed object using solvents and ultrasonic cleaning. |
| Sinter | Strengthening the object through heat treatment to enhance mechanical properties and ensuring a robust final product. |