<>
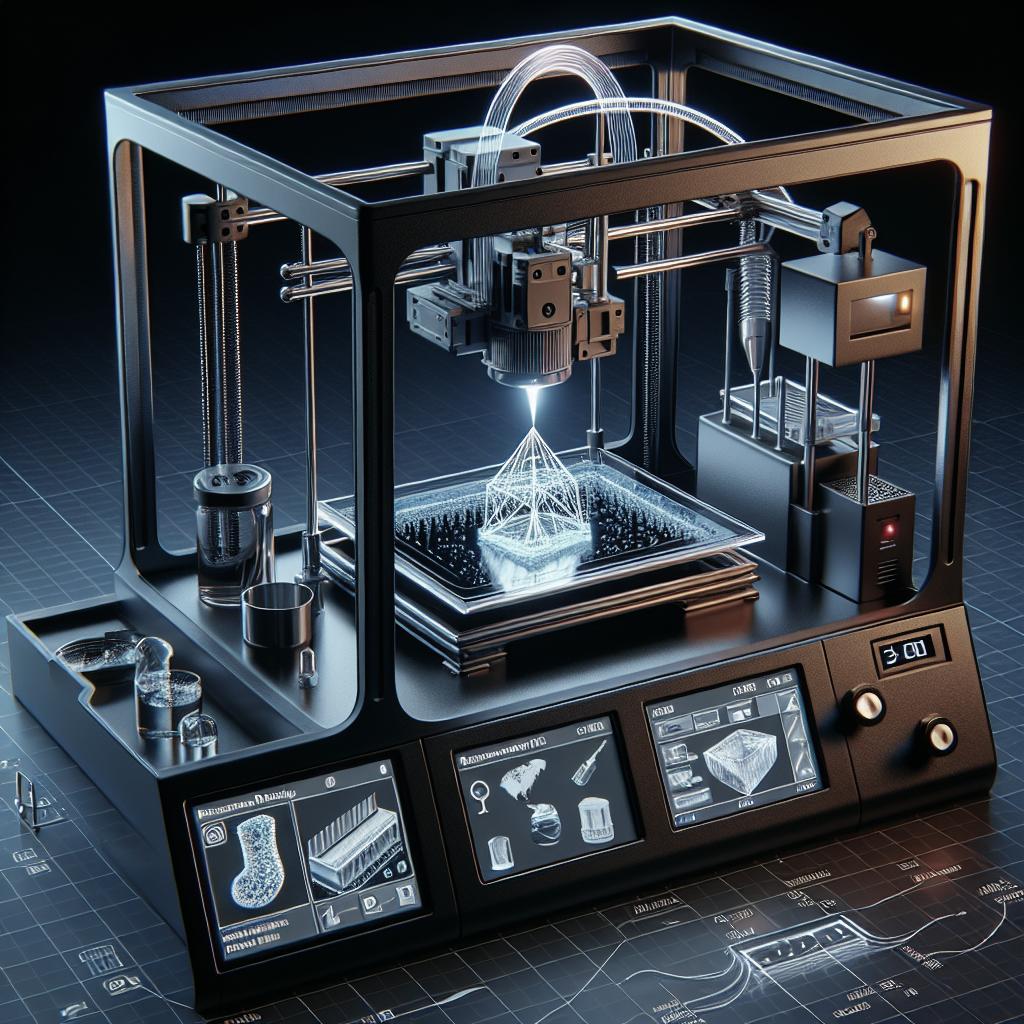
Introduction: Failed 3D Prints, and How to Fix Them
3D printing revolutionizes creation, allowing you to turn digital models into tangible objects. However, the process isn’t always smooth, and failed prints are common. Understanding how to troubleshoot and fix these issues is crucial whether you’re a novice or seasoned maker. This guide will address the most frequent problems affecting 3D prints, from bed adhesion to filament knots. You’ll learn step-by-step methods to diagnose and solve these issues, ensuring that each print is successful, saving you both time and material. Let’s dive into the world of 3D printer maintenance and repair.
Step 1: Bed Adhesion
One of the most common issues in 3D printing is poor bed adhesion, causing prints to fail within the first few layers. This happens when the printed object doesn’t stick to the print bed, leading to warping or complete detachment. Ensuring good bed adhesion is fundamental to obtaining accurate and successful prints. Several techniques can improve bed adhesion. Start by leveling the bed correctly and ensuring it’s clean. Use isopropyl alcohol to wipe away grease and debris. Additionally, consider using adhesives like glue sticks, blue painter’s tape, or specialized print surfaces. Adjust the bed temperature and use a heated bed if your printer supports it; the correct temperature varies depending on the filament type.
Step 2: Over Extrusion
Over extrusion occurs when too much filament is extruded, causing blobs and rough surfaces on your print. This not only deteriorates print quality but also potentially causes mechanical issues. Recognizing over extrusion is straightforward: the excess filament usually appears as pronounced ridges or globular accumulations on the print surface. To resolve over extrusion, start by calibrating the extruder. Check the extrusion multiplier or flow rate settings in your slicing software. Reducing these values can significantly fix the issue. Additionally, ensure that your nozzle diameter is correctly set and matches the filament specifications. Regularly maintaining and cleaning the printer components also helps prevent over extrusion.
Step 3: Under Extrusion
Conversely, under extrusion happens when insufficient filament is extruded, leading to weak prints with missing layers. This issue can severely compromise the structural integrity of your prints. Signs of under extrusion include gaps in layers, infill inconsistency, and general weak spots in the printed object. First, check the filament path for any obstructions, ensuring it’s feeding smoothly from the spool to the nozzle. Assess the extrusion multiplier or flow rate settings in your slicing software and incrementally increase them. Verify the nozzle condition, as clogs can easily lead to under extrusion. If you’re still facing problems, inspecting the feeder mechanism for signs of wear or looseness may help.
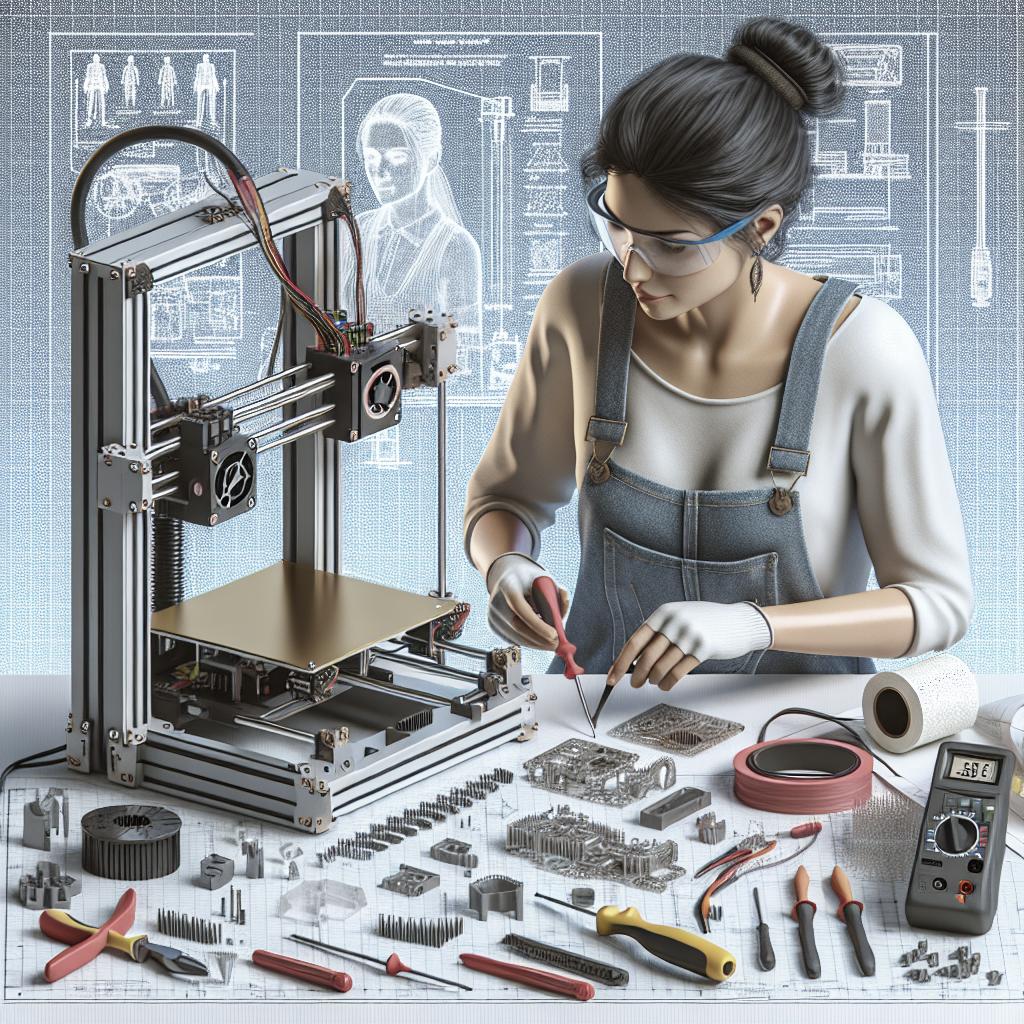
Step 4: Filament Gets Knotted
A knotted filament is a nightmare for any 3D printing enthusiast. It disrupts the printing process and can damage the extruder or feeder mechanism. Knotting typically occurs due to incorrect handling of the filament spool, leading to tangles that impede smooth feeding during prints. To prevent this, always handle spools carefully, ensuring they are securely fastened and that the filament is free to unspool without tangling. Employ filament guides or rollers to facilitate smooth feeding. When loading new filament, ensure it doesn’t loop back over itself. Regularly monitor the spool for any signs of knotting or tangling, and unwind any minor knots before they become problematic.
Step 5: Incorrectly Leveled Bed
An incorrectly leveled bed is a common culprit behind failed prints. It can affect adhesion, layer consistency, and overall print quality, leading to significant frustration. Ensuring a perfectly leveled bed is fundamental to successful 3D printing. Start by manually adjusting the bed using leveling screws. Some printers come with auto-leveling features – use them if available. To manually level the bed, move the print head to various points and use a piece of paper to gauge the nozzle’s distance from the bed. Adjust until the paper slides with slight resistance. Repeat this process before every print session, as slight shifts can occur over time.
My Method
To consistently level my bed, I perform a step-by-step routine before each print. First, I home the printer, bringing it to its baseline position. Next, I disable the stepper motors to freely move the print head. I then position the head over each corner of the bed and use a leveling guide or paper to check the distance. I make fine adjustments until I achieve uniform resistance across all points. I’ve found that this method offers the best initial bed adhesion and reduces the number of failed prints. Additionally, I frequently clean the bed surface and validate that my slicer settings, like layer height and print speed, are optimized for each new print job.
Step 6: Print Print Print!
The final step to mastering 3D printer repairs is practice. Consistent printing and experimentation help you understand your machine’s nuances, leading to efficient troubleshooting and high-quality prints. Regularly challenging your printer with different models and filaments helps identify its strengths and weaknesses. Documenting your process is equally important. Keep a log of settings, issues, and solutions for future reference. This habit not only aids in diagnosing recurring problems but also improves your overall understanding of 3D printing technology. Over time, these skills will become second nature, significantly reducing downtime and maximizing productivity. Finally, engage with the 3D printing community. Online forums and local maker groups are invaluable resources. Sharing experiences and learning from others can provide new insights and techniques, ensuring you stay current with the latest advancements and troubleshooting methods.
Future Prospects
With these troubleshooting techniques at your disposal, you’re well-equipped to tackle the most common 3D printer issues. Below is a summary table of the discussed steps and corresponding solutions: “`
| Step | Issue | Solution |
|---|---|---|
| 1 | Poor Bed Adhesion | Clean bed, use adhesives, adjust bed temperature |
| 2 | Over Extrusion | Calibrate extruder, adjust flow rate |
| 3 | Under Extrusion | Check filament path, increase flow rate, clean nozzle |
| 4 | Filament Gets Knotted | Handle spools carefully, use filament guides |
| 5 | Incorrectly Leveled Bed | Manually or automatically level the bed |
| 6 | Print Print Print! | Regular practice, document process, engage community |
“` By following these steps, you not only enhance your prints but also develop a deeper understanding of the technology, preparing yourself for ongoing innovation in the ever-evolving world of 3D printing. Happy printing!